Create Docker Image from Dockerfile
Create a docker image from an existing repo and using a Dockerfile and a base image. Then psuh the Docker image to DockerHub.
The Docker documentation says that a “Docker image is a read-only template.” Conceptually, it is similar to a snapshot of a virtual machine (e.g. VirtualBox or VMWare). Except, instead of building the VM manually and then taking a snapshot, a Docker image is built using a Dockerfile.
A Dockerfile is simply a set of instructions, think “recipe”, for building the image. It’s basically the commands you would execute when building the machine manually. When you execute docker build ... docker steps through the Dockerfile running each instruction in order. Each instructions creates a layer in our image.
ImageLayers is a great tool to visualize the layers shared between images.
Docker images do not run on their own. From the documentation… “Docker containers are similar to a directory. A Docker container holds everything that is needed for an application to run. Each container is created from a Docker image. Docker containers can be run, started, stopped, moved, and deleted. Each container is an isolated and secure application platform. Docker containers are the run component of Docker.”
So we’re going to create a Dockerfile, which we’ll use to create an Image. Next, we’ll verify the image works correctly by creating a Container. Finally, we’ll login to Docker Hub and push our image to the repo.
Let’s get started…
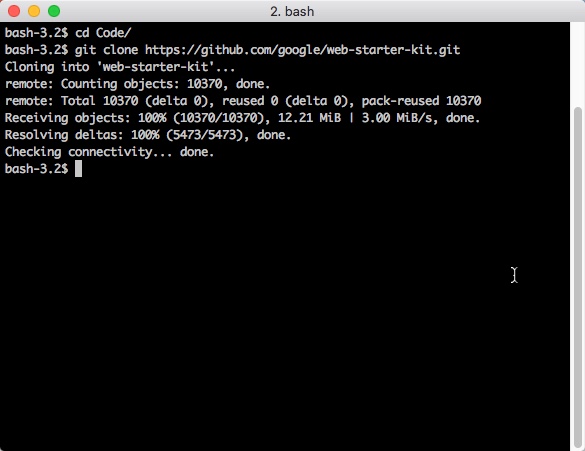
Clone a repo to local
First, we need a repo to base our image on. We’ll use the Google Web Starter Kit repo. It uses Gulp build process so it requires Node. Plus it uses BrowserSync which we’ll demo later.
git clone https://github.com/google/web-starter-kit.git
Create Dockerfile:
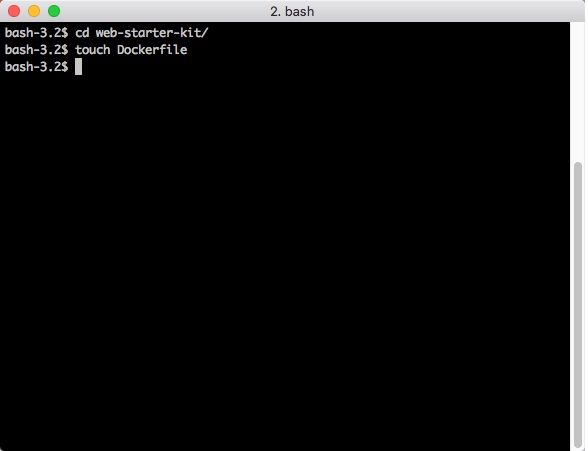
Create a Dockerfile in your repo and add the following commands.
cd web-starter-kit/
touch Dockerfile
Dockerfile
FROM node:4.2.6

# Install app dependencies
WORKDIR /src
RUN npm install -g gulp
COPY package.json /src/package.json
RUN cd /src; npm install

# Bundle app source
COPY . /src

EXPOSE  3000
CMD ["gulp", "serve"]
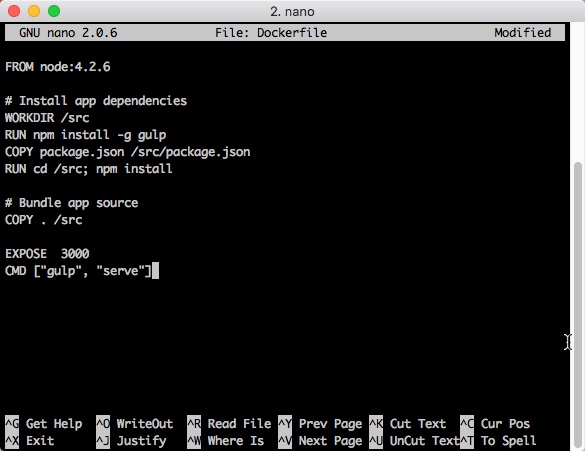
A bit of explanation:
FROM node:4.2.6: We’re going create our image FROM the Official Node 4.2.6 base starting point. You could choose another version of Node or start from a base linux image and install Node and your required dependencies individually.
WORKDIR /src: Set the working directory for the commands that follow. This applies to the RUN, CMD, ENTRYPOINT, COPY and ADD commands.
RUN npm install -g gulp Run creates a new layer, runs the command and commits the result.
COPY package.json /src/package.json: Copies a file or directory from the local dir to the container dir. In our case, we simple copied the package.json file.
RUN cd /src; npm install:
COPY . /src: Copies the source of our app from the local to the container
EXPOSE 3000: Our app runs on port 3000 so expose that port
CMD ["gulp", "serve"]: Set the default command which executes when starting a container with this image.
Please note, the instruction order matters. Notice we install Gulp and the app dependencies before coping the source. The idea is to order your commands by how often they will be updated. So install core items first and install source code which changes frequently last.
Read more on Dockerfile best practices and optimization… - Dockerfile Best Practice - Optimizing your Dockerfiles
Build Image From Dockerfile
docker build -t cklanac/starter-kit .
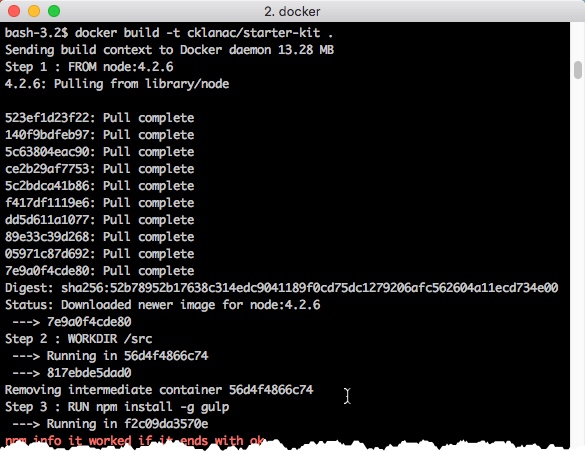
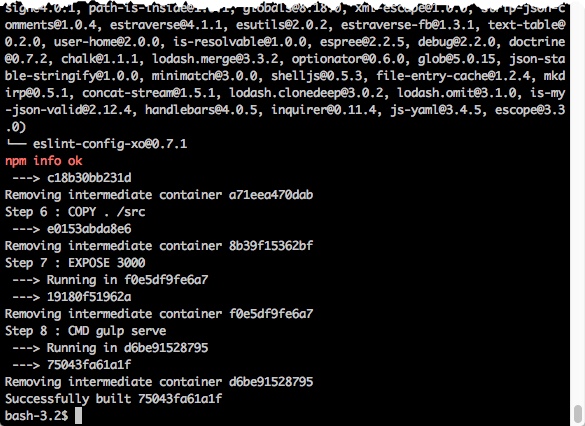
Great so we have an image. Let’s test it out.
Verify the image
We’ll verify our image is correct by creating a temporary container (note the --rm flag) to test it.
docker run --rm -p 3000:3000 --name starter-kit cklanac/starter-kit
Point your browser at [http://
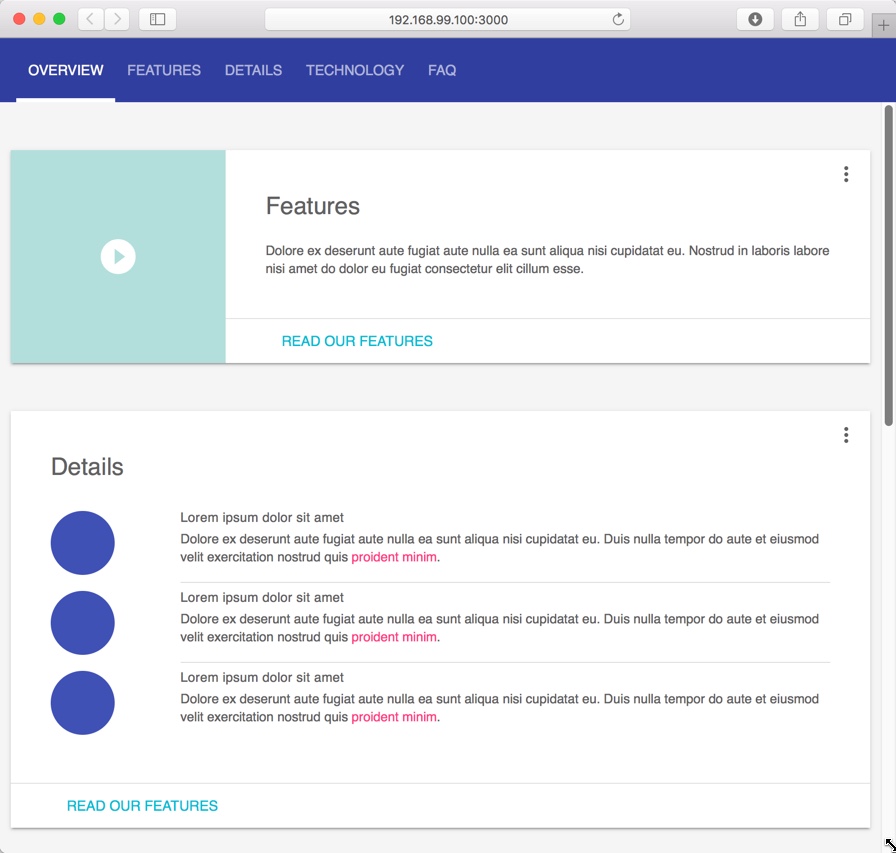
Works? Great then stop the container/daemon (ctrl + c). Or open another terminal window docker stop starter-kit
Push to Hub
Login to Docker Hub and Push the image
docker login
docker push cklanac/starter-kit
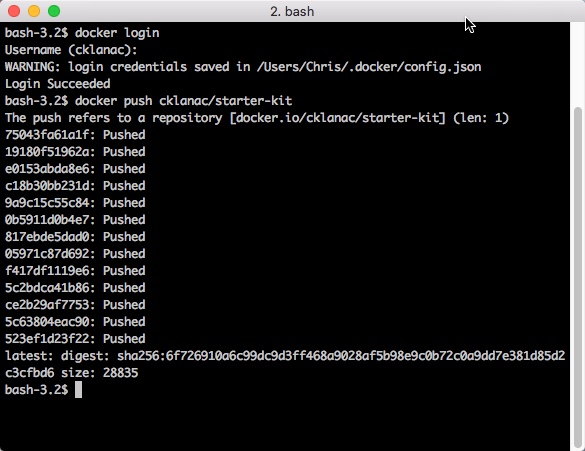
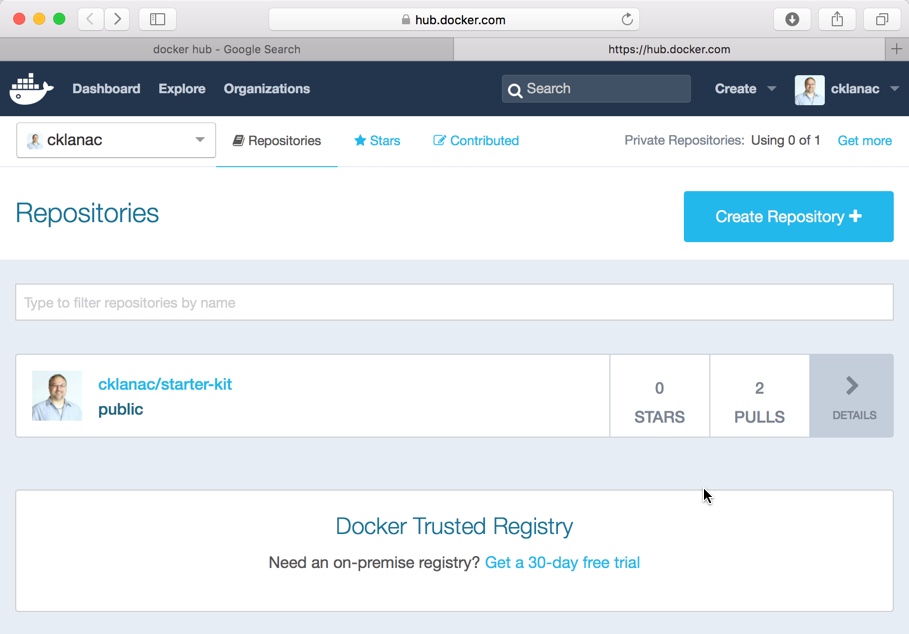
And check out the goodness on Docker Hub!
References: